One of the things you have to tolerate if you are a user of Windows 10 is the system errors.
It seems like it is a never-ending problem for users, since every now and then another error pop up from somewhere.
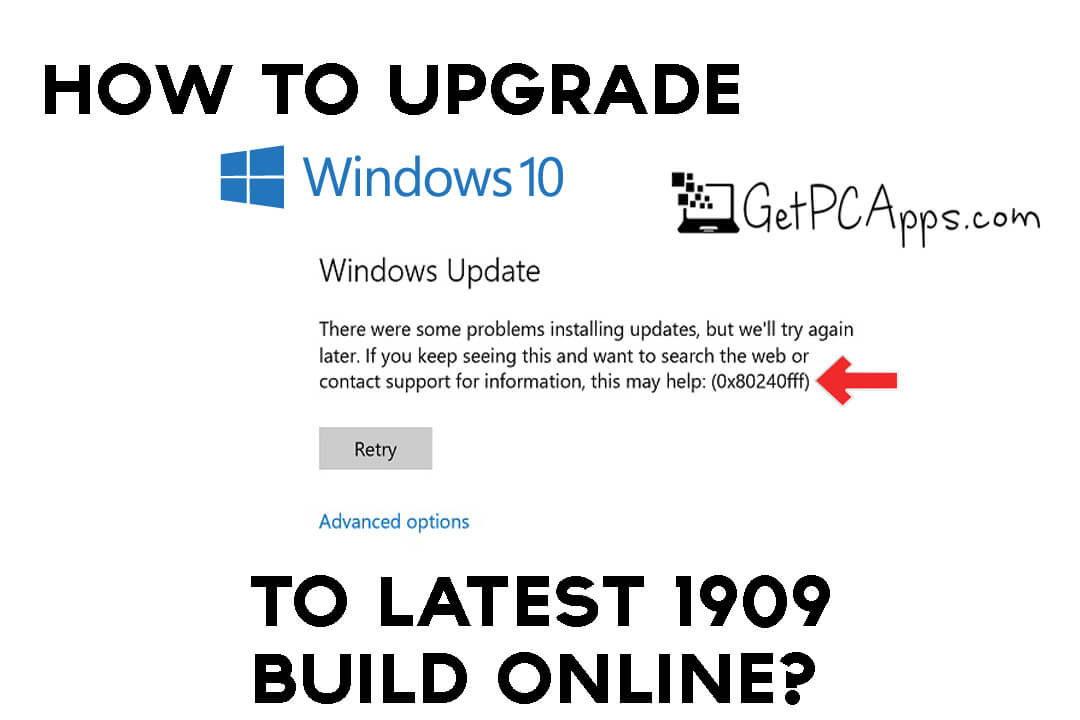
Today we are going to share with you that how can you fix Windows 10 Update Error 0x80240fff. Below we have mentioned the full instructions to solved this problem easily.
Also, you should visit GetPCApps.com to find even more tutorials to fix Windows 10 errors you are facing.
How to Update Windows 10 to Latest 1909 Build of Windows 10?
Now without further ado, let’s start this tutorial to get your Windows 10 update error fixed.
Caution!
Before you follow the instructions below just ensure that you have backed up your data, though while we performed this method on our laptop we didn’t encounter and data loss and everything worked as it should.
However, after all, you are dealing with an operating system so it’s better to back up your data as a safety precaution in case if anything goes wrong.
Also do not skip any step mentioned below just follow them as they are mentioned and plug in your laptop or make sure it is fully charged.
If during the process your laptop turned off because of any reason then you will be in great trouble.
Method 1
The following instructions are to resolve the issue where Windows 10 updates would not run and if you try to run them you will get the error 0x80240fff. No matter how many times you retry you will always get the same error.
Instructions
In some cases people have successfully resolved this issue by simply applying the following changes, it is recommended that before trying the second method you should give a go to the first one since it is easier and convenient.
- Go to Setting
- Open Update & Security
- Here in Windows Update, you will see an Advanced setting on the right panel. Click on it.
- Now Check-mark the option of Deffer Upgrade. That’s it.
Now Apply the following method only if the first one doesn’t work for you.
Check the Windows 10 Build
Basically this update error occurs in the specific Windows 10 Build. To Check your Windows 10 build follow these steps.
Hit the Windows Key and type in winver and hit Enter. A new window will open where you will be able to see the build of your Windows 10.
If your Windows 10 build is (10240) then you are not the only one who is facing this problem since this build has some known issues with updates.
Method 2
Now after checking your build follow the instructions below in order to resolve this update issue. We were able to successfully resolve the update problem with this method.
- Open the Internet and search Windows 10 Media Creation Tool.
- The Microsoft link would be the first in the search results, open it.
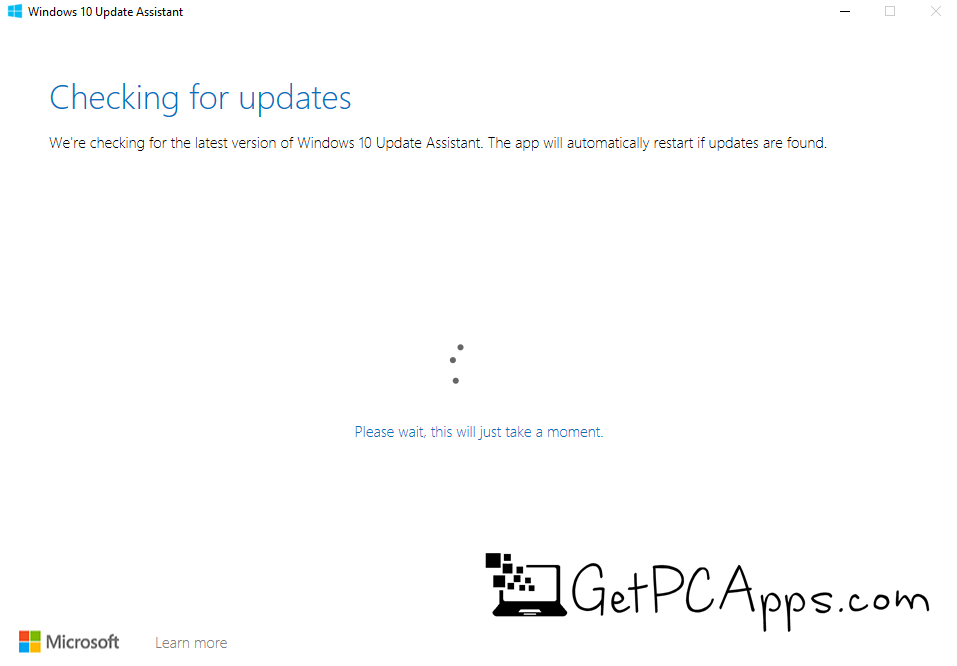
- Now we do not really need the Media Creation Tool, we just need the first link which will be the latest update. So instead of Windows 10 Media Tool just click on the Update Now on the first link of Windows 10 Update (Windows10Upgrade9252.exe)
- When the download finishes Run it.
- Next, it will show you the current version of your Windows 10 as well as the latest update version you have downloaded manually.
- Click on Update Now at the bottom right corner.
- Next, it will show you the minimum system requirements for the update, press Next.
- It will start downloading the required Windows 10 Update, you can minimize the Windows if you want.
- After downloading the update it will show you that the update is ready and a count down will be visible on the screen.
- Rather than waiting just press the Restart Now option you have been given.
- After Restart Windows will start working on the updates as usual. So do not turn off your computer and let it do what it is doing.
- After Installing the Updates the normal start screen will appear with the log in options. You just need to simply log in.
- One Annoying thing is that after installing this update you will have to go through the all initial welcome setup phase.
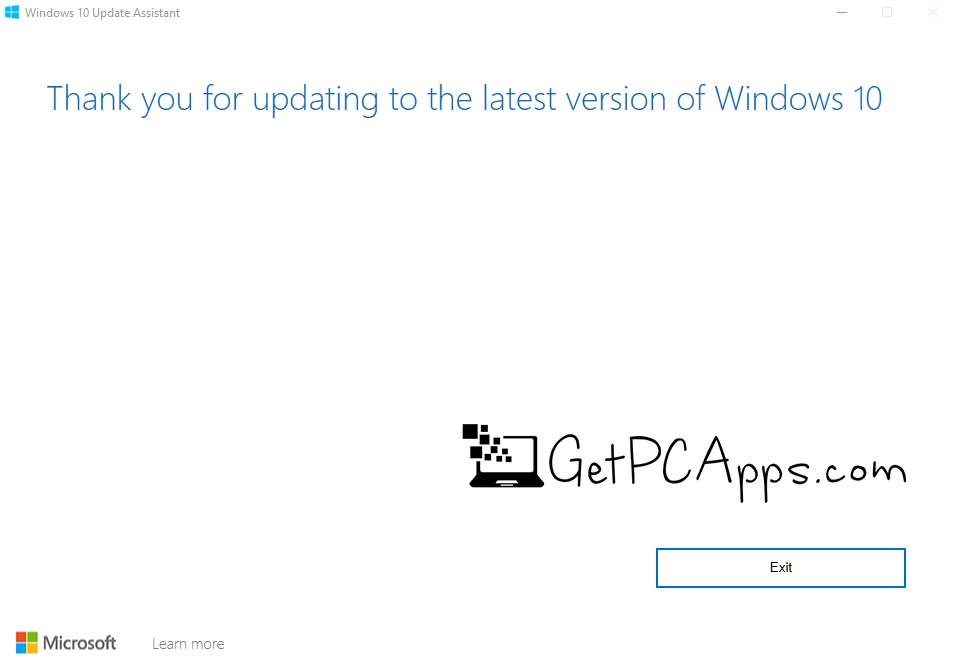
- After that finally, you will back at your desktop with the message “thank you for updating the latest version of Windows 10“, just exit it.
Now go back to the Windows Update and press Check for Updates. You will see that it will not only show you the updates but will automatically start downloading them if you have enabled the download updates automatically option in your settings.
Conclusion
As you have seen the method is not very complicated, you just need to follow the steps as it is.
We have tried hard to elaborate on the methods in the easiest way possible so everybody can understand it easily.
This step by step tutorial will help you to resolve the Windows 10 update issue in no time no matter if you are a beginner or novice in technical terms.
You should also visit GetPCApps.com to find out more helpful tutorials and guides. Also, you can find many useful Applications and software for Windows.
See you next time with another helpful guide.
- Top 5 Best Disk Partition Manager Software for Windows 7 | 8 | 10 | 11 - October 4, 2024
- AIMP Music Player 4.52 Offline Installer Setup for Windows 7, 8, 10, 11 - October 4, 2024
- ApowerMirror Control Android Mobile Phone or iPhone from PC | Windows 7, 8, 10, 11 - October 4, 2024


![Windows 10 ISO Direct Download 1909 [month] [year] [Official 64 Bit] Top 3 Best Ways to Download Windows 10 ISO [Direct Links]](https://www.getpcapps.com/wp-content/uploads/2018/12/windows-10-official-iso-file-download-direct-links-1-150x150.jpg)

