Bygone are the days when you have to use command prompt to access DiskPart for creating a Bootable USB drive. As a matter of fact, this was one of the most daunting exercises for the people at that time. Thanks to the technology and the developers of the free software like Rufus for doing the hard work instead. You don’t have to do the things manually and simply get your work done effortlessly and without any hassle.
For those who don’t know, Rufus is the utility that helps format and creates bootable USB flash drives, such as USB keys/pendrives, memory sticks, etc. The software is especially useful when you have to create USB installation media from bootable ISOs, need to work on a system that doesn’t have an OD installed or you want to run a low-level utility program.
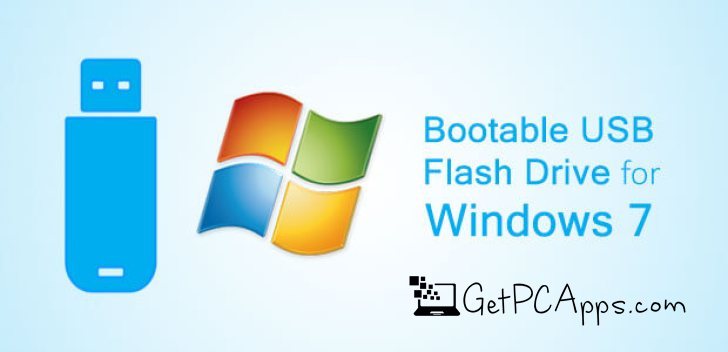
So if you want to create Windows 7 Bootable USB Disk with Rufus, this tutorial will get you covered. Scroll down to read step-by-step procedure that will help you create Windows 7 Bootable USB disk effortlessly, using Rufus.
Create Windows 7 Bootable USB Disk with Rufus
Before we get started with the tutorial, here are a few things that you need:
Once you have these required items, follow the following steps, in order to get started.
Open the Rufus application on your Windows. Rufus will automatically update your settings, depending on the type of the ISO you are using.
The application will have most of the options blank, until you don’t have the USB connected to your computer. So now, you need to connect your USB device, in order to access the options. Once you connect the USB, all the necessary fields will be filled automatically.
Now, you need to select your ISO. Select the “Disk” icon just above the “Ready” option from the Rufus’ Window. this option will let you browse for the required ISO file.
Now select the file by left clicking on it once and then clicking on Open.
Rufus will now have filled out the fields for you. All you have to do now is hit Start.
Try to use the USB stick with the storage capacity above 4GB. If the USB is smaller than 4GB, you will get an error called “The image is too big for the selected target”.
If your USB is of ideal size, you will get a standard warning screen, telling you that any data/ partition that was on USB before starting the process will permanently be deleted.
You need to click on the OK option to start the process.
The process will take some time and that time depends on the specs and memory of your computer and the size of ISO that you are using.
After the process is complete, you are now good to go.
You now have a Bootable Windows 7 USB. You are now good to go with Windows 7 installation via bootable usb drive.
With a passion for all things tech, I delve deep into the world of Windows software and tutorials to bring you expert insights and practical advice. As a seasoned blogger, I strive to simplify complex topics and empower readers to harness the full potential of their digital devices. Join me on a journey of discovery and mastery in the ever-evolving landscape of technology.


")


