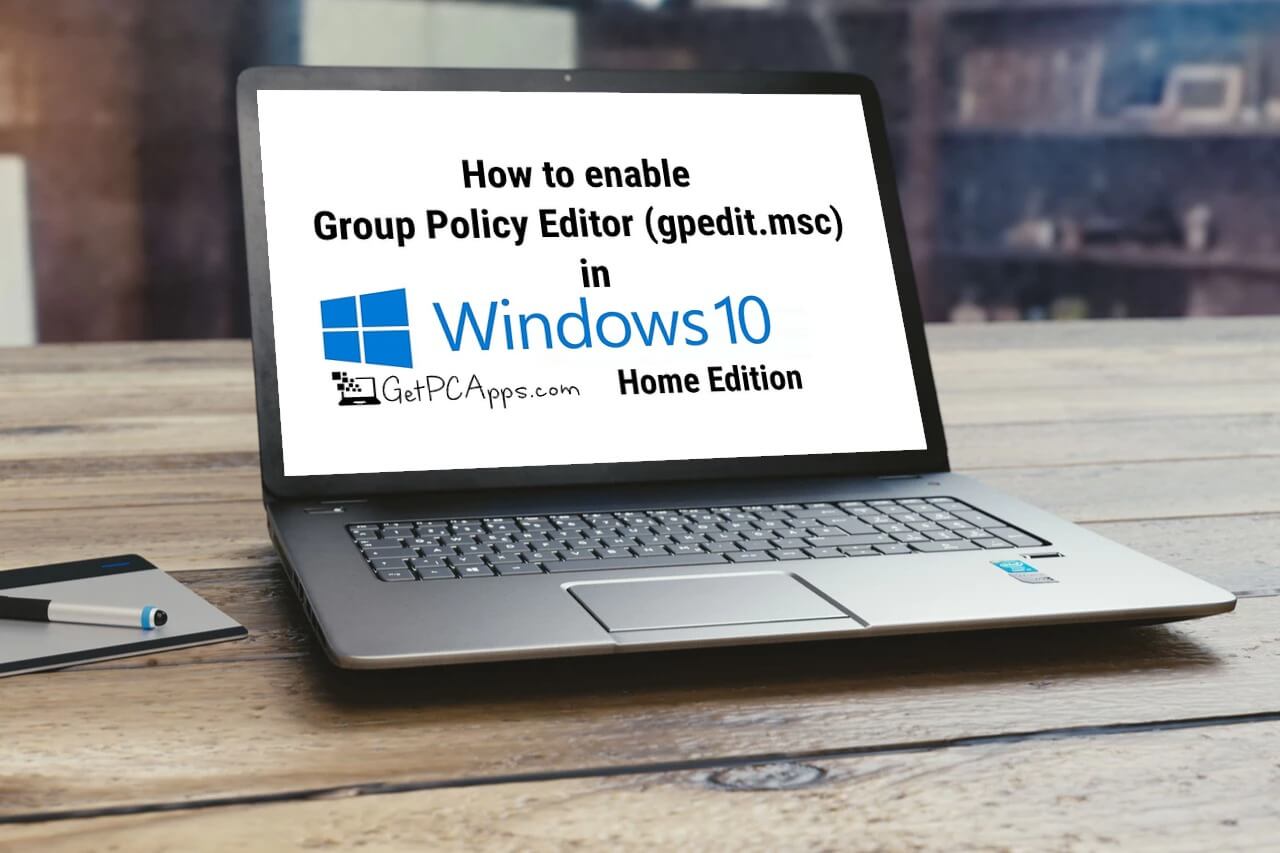
If you are looking for the ways to enable Group Policy Editor GPEDIT.MSC in Windows 10, we have you covered. Group Editor Policy, as the name implies, is the configuration manager for Windows that allows you to configure Windows Settings effortlessly.
Although you can do it by going through Windows Registry, however, it is a long and tedious process. So instead of choosing a tough and boring way, we have compiled 3 best methods through which you can enable Group Policy Editor in Windows 10. Scroll down to check them out.
Top 3 Best Ways to Enable Group Policy Editor GPEDIT.MSC in Windows 10
All these three ways to enable Group Policy Editor can be used on Windows 10 Home Edition, Windows 7 and Windows 8 too. Here’s how you can enable Group Policy Editor on Windows 10.
1. Enable Group Policy Editor using GPEdit Installer
Since the Group Edit Policy is not included in Windows 10 by default, you need to get it downloaded. Download it from this link (add_gpedit_msc.zip). This simple file will run and configure the Group Policy Editor in your Windows Home System.
If you have 32-bit Windows, the setup will install smoothly without any problems and you should be able to access the Group Policy Editor through the Microsoft Management Console. For this, click – Run> gpedit.msc. But if you 64-bit Windows, you will need some extra steps after running the installer.
Follow the steps for 64-bit Windows:
- Go to C:\Windows\SysWOW64 folder
- Copy the following folders and files from C:\Windows\SysWOW64 to C:\Windows\System32
“GroupPolicy“, “GroupPolicyUsers” and msc.
2. Enable Group Policy Editor using Policy Plus
Policy Plus is the third party application that allows you to enable Group Policy Editor effortlessly. Its interface is almost similar to that of GPEdit. In order to get it started,
- Download Policy Plus from the link (PolicyPlus.zip).
- Install the application and you can make changes to the policies exactly how you do it in built-in group policy editor in Windows.
3. Enable GPEdit.msc using PowerShell Script
You can try this method if the methods above don’t work. For this method to work,
- Download GPEdit Enabler script from the link.
- Right-click the downloaded gpedit-enabler.bat file and select Run as Administrator.
- This will begin the installation process. The process might take some time. When the process is finished, press any key to close the command prompt window.
- Now go to Run> gpedit.msc.
- This would open the GPE on your windows.
Although restart is not required for the policies to work, you can restart the computer to get it working smoothly.
And that’s it! Hopefully, all these 3 methods will work perfectly on your Windows 10. Comment below to let us know how the process goes and what problems you faced during enabling Group Policy Editor on Windows 10.
- Top 5 Best Disk Partition Manager Software for Windows 7 | 8 | 10 | 11 - October 4, 2024
- AIMP Music Player 4.52 Offline Installer Setup for Windows 7, 8, 10, 11 - October 4, 2024
- ApowerMirror Control Android Mobile Phone or iPhone from PC | Windows 7, 8, 10, 11 - October 4, 2024


